


Quick Answer
Hold the gua sha tool at roughly a 15–30° angle against the skin and glide it outward and upward using light to medium pressure. Start at the neck and work upward, moving from the center of the face outward along the jawline, cheeks, and forehead. The goal is to stimulate circulation and encourage lymphatic drainage to reduce puffiness and improve skin tone. Always apply a facial oil or serum first to provide slip — gua sha should never drag on dry skin.
A gua sha is a smooth-edged facial massage tool used to stimulate lymphatic drainage, reduce puffiness, and help visibly lift and contour the face. The technique takes about 5 to 10 minutes, requires a facial oil for slip, and delivers noticeable results when practiced consistently.
This guide covers the exact technique, pressure, and angles that make gua sha effective -- and the mistakes most beginners make that slow results.
What You Need Before You Start
You need two things:
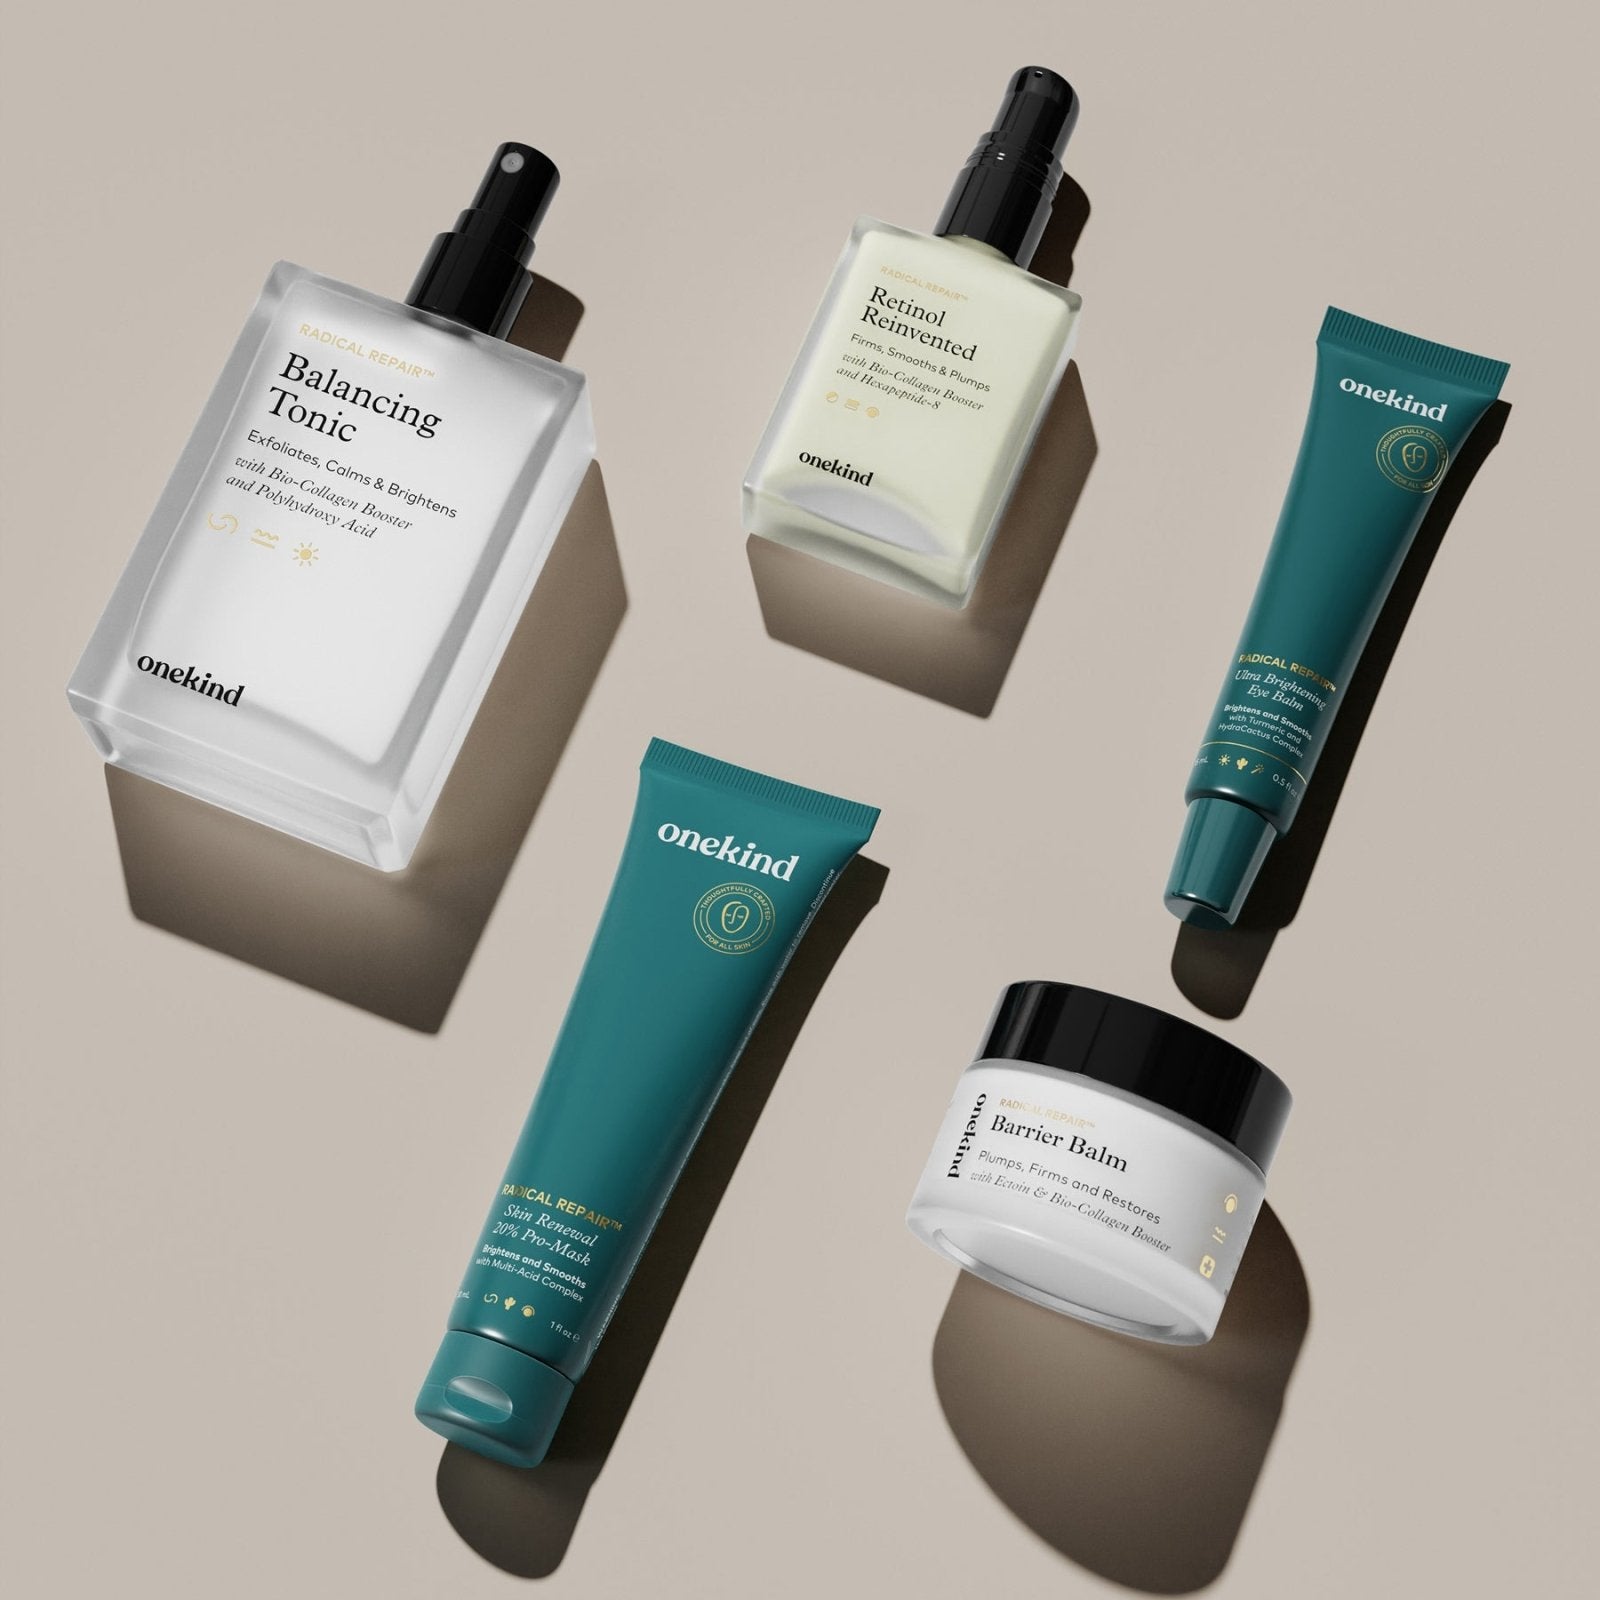
A gua sha tool. The material matters. Skin Sculpt Gua Sha is 100% stainless steel -- non-porous and bacteria-resistant, unlike jade or rose quartz tools that can accumulate bacteria over time in their microscopic pores. Stainless steel also holds a cooler temperature against skin, which contributes to the depuffing effect.
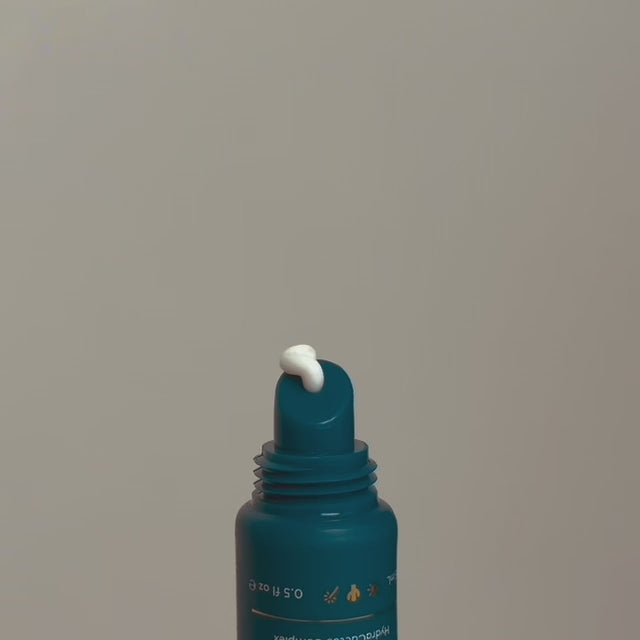
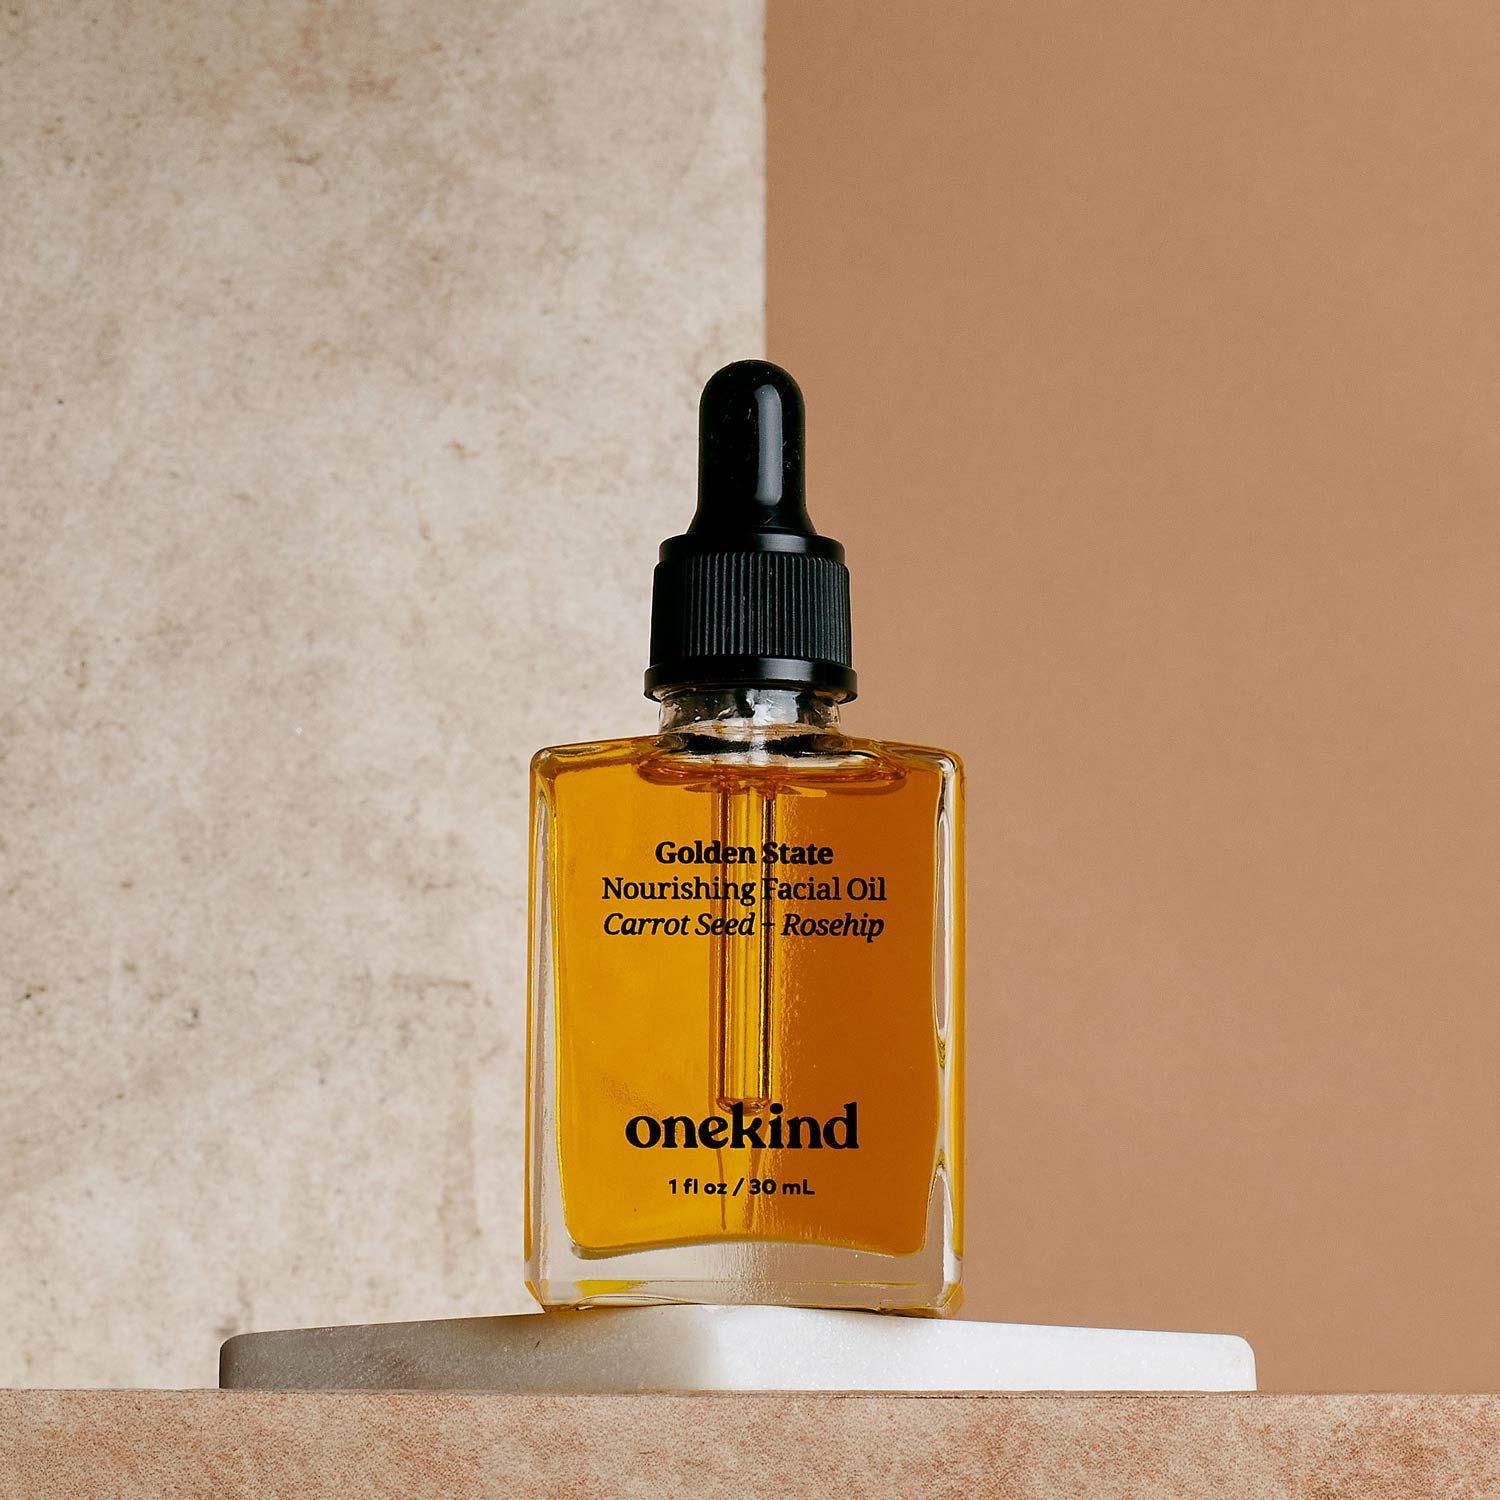
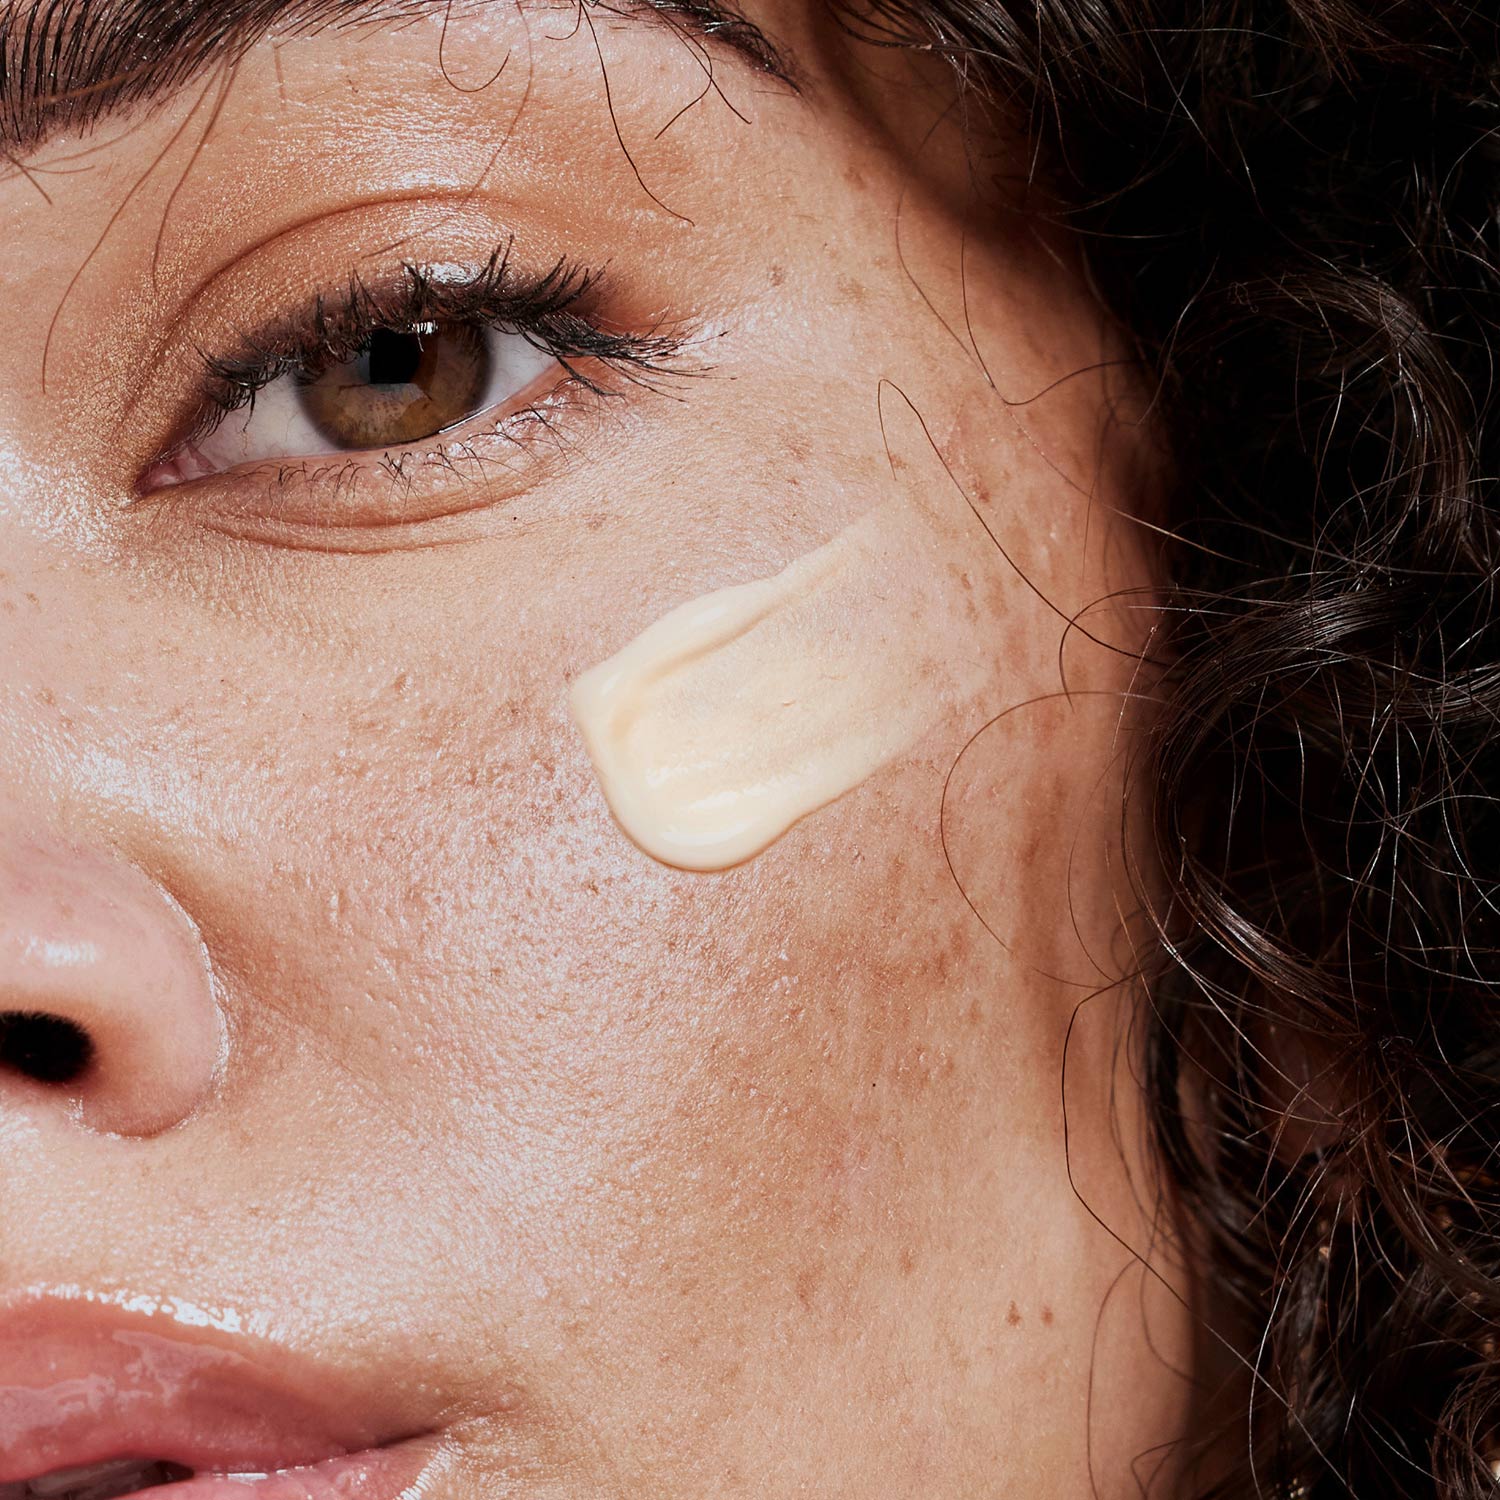
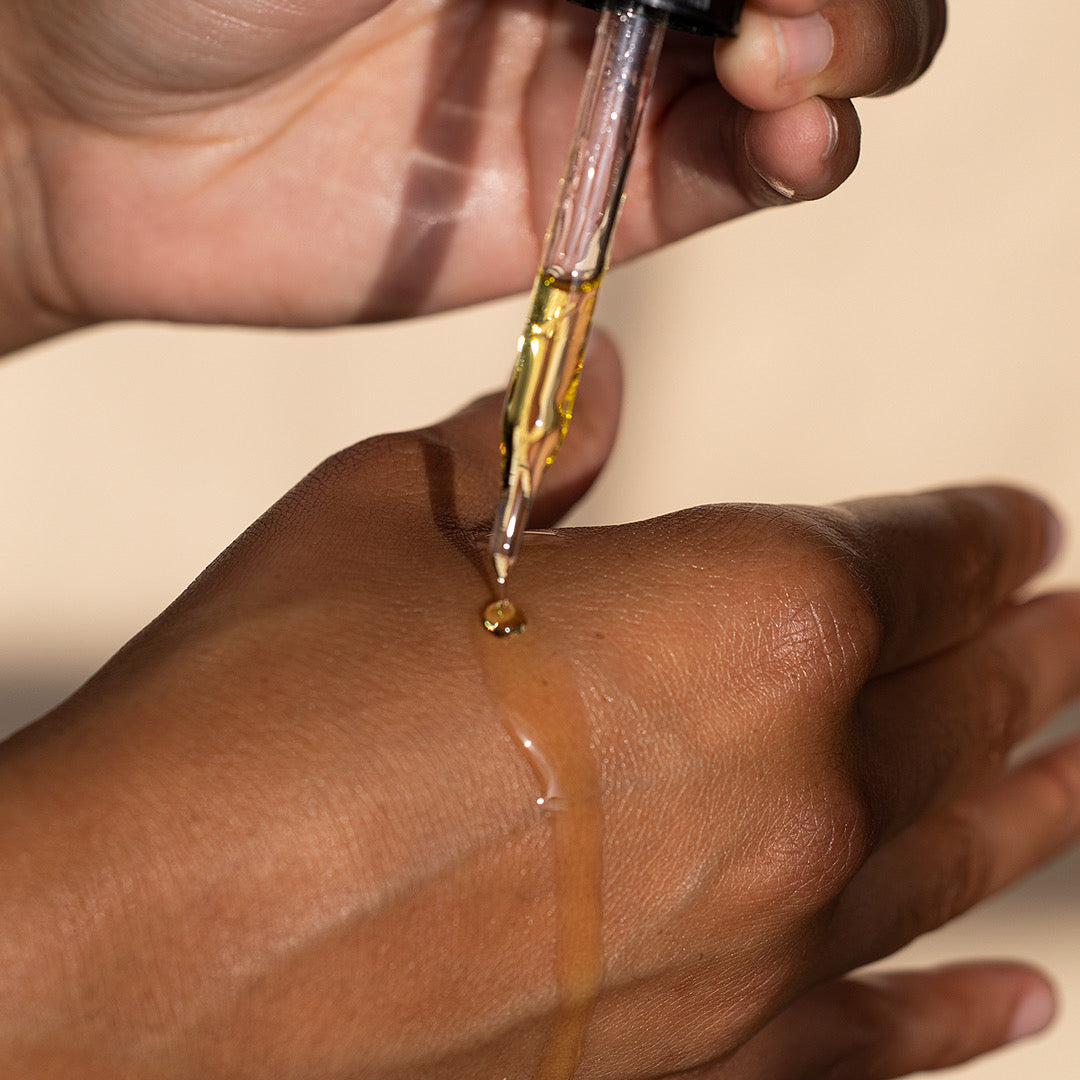
A facial oil. Gua sha requires slip to glide without dragging or irritating skin. Use 3 to 5 drops of a nourishing facial oil. Golden State Nourishing Facial Oil is a natural pairing -- its lightweight blend of sea buckthorn, argan, and rosehip provides the right amount of glide while delivering antioxidants and visible radiance.
What not to use: Do not use gua sha on dry skin, with a moisturizer alone, or over active breakouts or open wounds.
Step-by-Step Gua Sha Technique
Step 1: Start with clean skin and apply your oil
Cleanse your face first. Then apply 3 to 5 drops of facial oil and press it gently into skin. Make sure the surface is well coated before picking up the tool. Gua sha performed on skin that is not well-lubricated drags instead of glides -- this reduces effectiveness and can cause irritation.
Step 2: Hold the gua sha at the correct angle
Hold the tool nearly flat against your skin -- at roughly 15 degrees from the surface. This is the most common mistake beginners make: holding the tool too upright. A more vertical angle drags rather than glides, reducing effectiveness and increasing the chance of irritation. The curved or notched edge goes against the skin. The flat or longer edge faces outward.
Step 3: Neck first (always start here)
Begin at the collarbone and use light downward strokes along the sides of the neck toward the collarbone. This step creates a drainage pathway for the fluid you are about to move with the strokes higher on the face. Skipping the neck is one of the most common gua sha mistakes -- without this step, you are moving fluid without giving it a route to exit.
Step 4: Jawline
Place the curved edge of the tool at the center of the chin. Glide outward along the jaw toward the ear using light, upward-angled strokes. Repeat each stroke 3 to 5 times in the same direction before moving. Pay particular attention to the masseter muscle -- the large jaw muscle you feel when clenching -- as this area holds significant tension from grinding, stress, and screen time.
Step 5: Cheekbones
Place the curved notch of the gua sha at the side of the nose, just below the cheekbone. Glide outward along the cheekbone toward the temple. Use light, continuous upward strokes. Repeat 3 to 5 times per side. This is the primary stroke for visible sculpting and reduction of mid-face puffiness.
Step 6: Under-eye area
Use the small curved edge under the eye, starting at the inner corner near the nose and gliding very gently outward toward the temple. Use almost no pressure here -- the under-eye area is delicate. This stroke is particularly effective for morning puffiness, as fluid tends to pool overnight in the under-eye zone.
Step 7: Forehead
Place the flat edge at the center of the forehead just above the brows. Glide outward toward the temples, then move upward and repeat, working toward the hairline. Use light to moderate pressure. This stroke helps relax the muscles responsible for forehead lines that develop from furrowing and concentration.
Step 8: Brow bone
Use the notched or curved edge along the brow bone, starting at the center of the brow and gliding outward toward the temple. This targets the tension from squinting and screen time that contributes to the appearance of fine lines between the brows.
How Much Pressure to Use
Less than you think. Gua sha works through gentle repetition and lymphatic stimulation -- not deep tissue pressure. If skin looks red or feels tender after a session, you are pressing too hard. Light to moderate pressure should leave skin looking flushed and healthy, not irritated.
A cooler tool helps amplify results: stainless steel holds a naturally lower temperature than stone, which contributes to the calming, depuffing effect on contact.
How Often Should You Use a Gua Sha?
Daily use for 5 to 10 minutes gives the best results for depuffing and circulation. Most people notice a visible difference in morning puffiness within the first week of consistent daily practice.
For lifting and contouring results, allow 4 to 6 weeks of daily practice. The results are cumulative -- gua sha works by relaxing facial muscles and improving circulation over time, not as a one-session fix. Morning is a popular time because it addresses overnight puffiness directly. Evening use pairs well with a nighttime skincare routine.
Common Gua Sha Mistakes
Using it on dry skin. Without oil, the tool drags against skin and can cause micro-irritation. Always use a facial oil with enough slip to let the tool glide freely.
Holding the tool too vertically. The tool should be nearly flat -- about 15 degrees from the skin surface. More vertical means more drag and less lymphatic benefit.
Pressing too hard. Light pressure is more effective than heavy pressure. Excessive force can cause temporary redness and, in some cases, bruising.
Going in both directions. Always stroke outward and upward -- not back and forth. Multidirectional strokes work against lymphatic drainage.
Skipping the neck. Draining toward the collarbone first is essential. Without this step, you are moving fluid without giving it a clear path to exit the face.
Expecting overnight results. Depuffing is visible quickly. Sculpting and line-softening take consistent practice over several weeks.
What to Apply After Gua Sha
After a gua sha session, skin is warm, circulation is elevated, and the surface is primed for absorption. This is a good moment to apply your next skincare step.
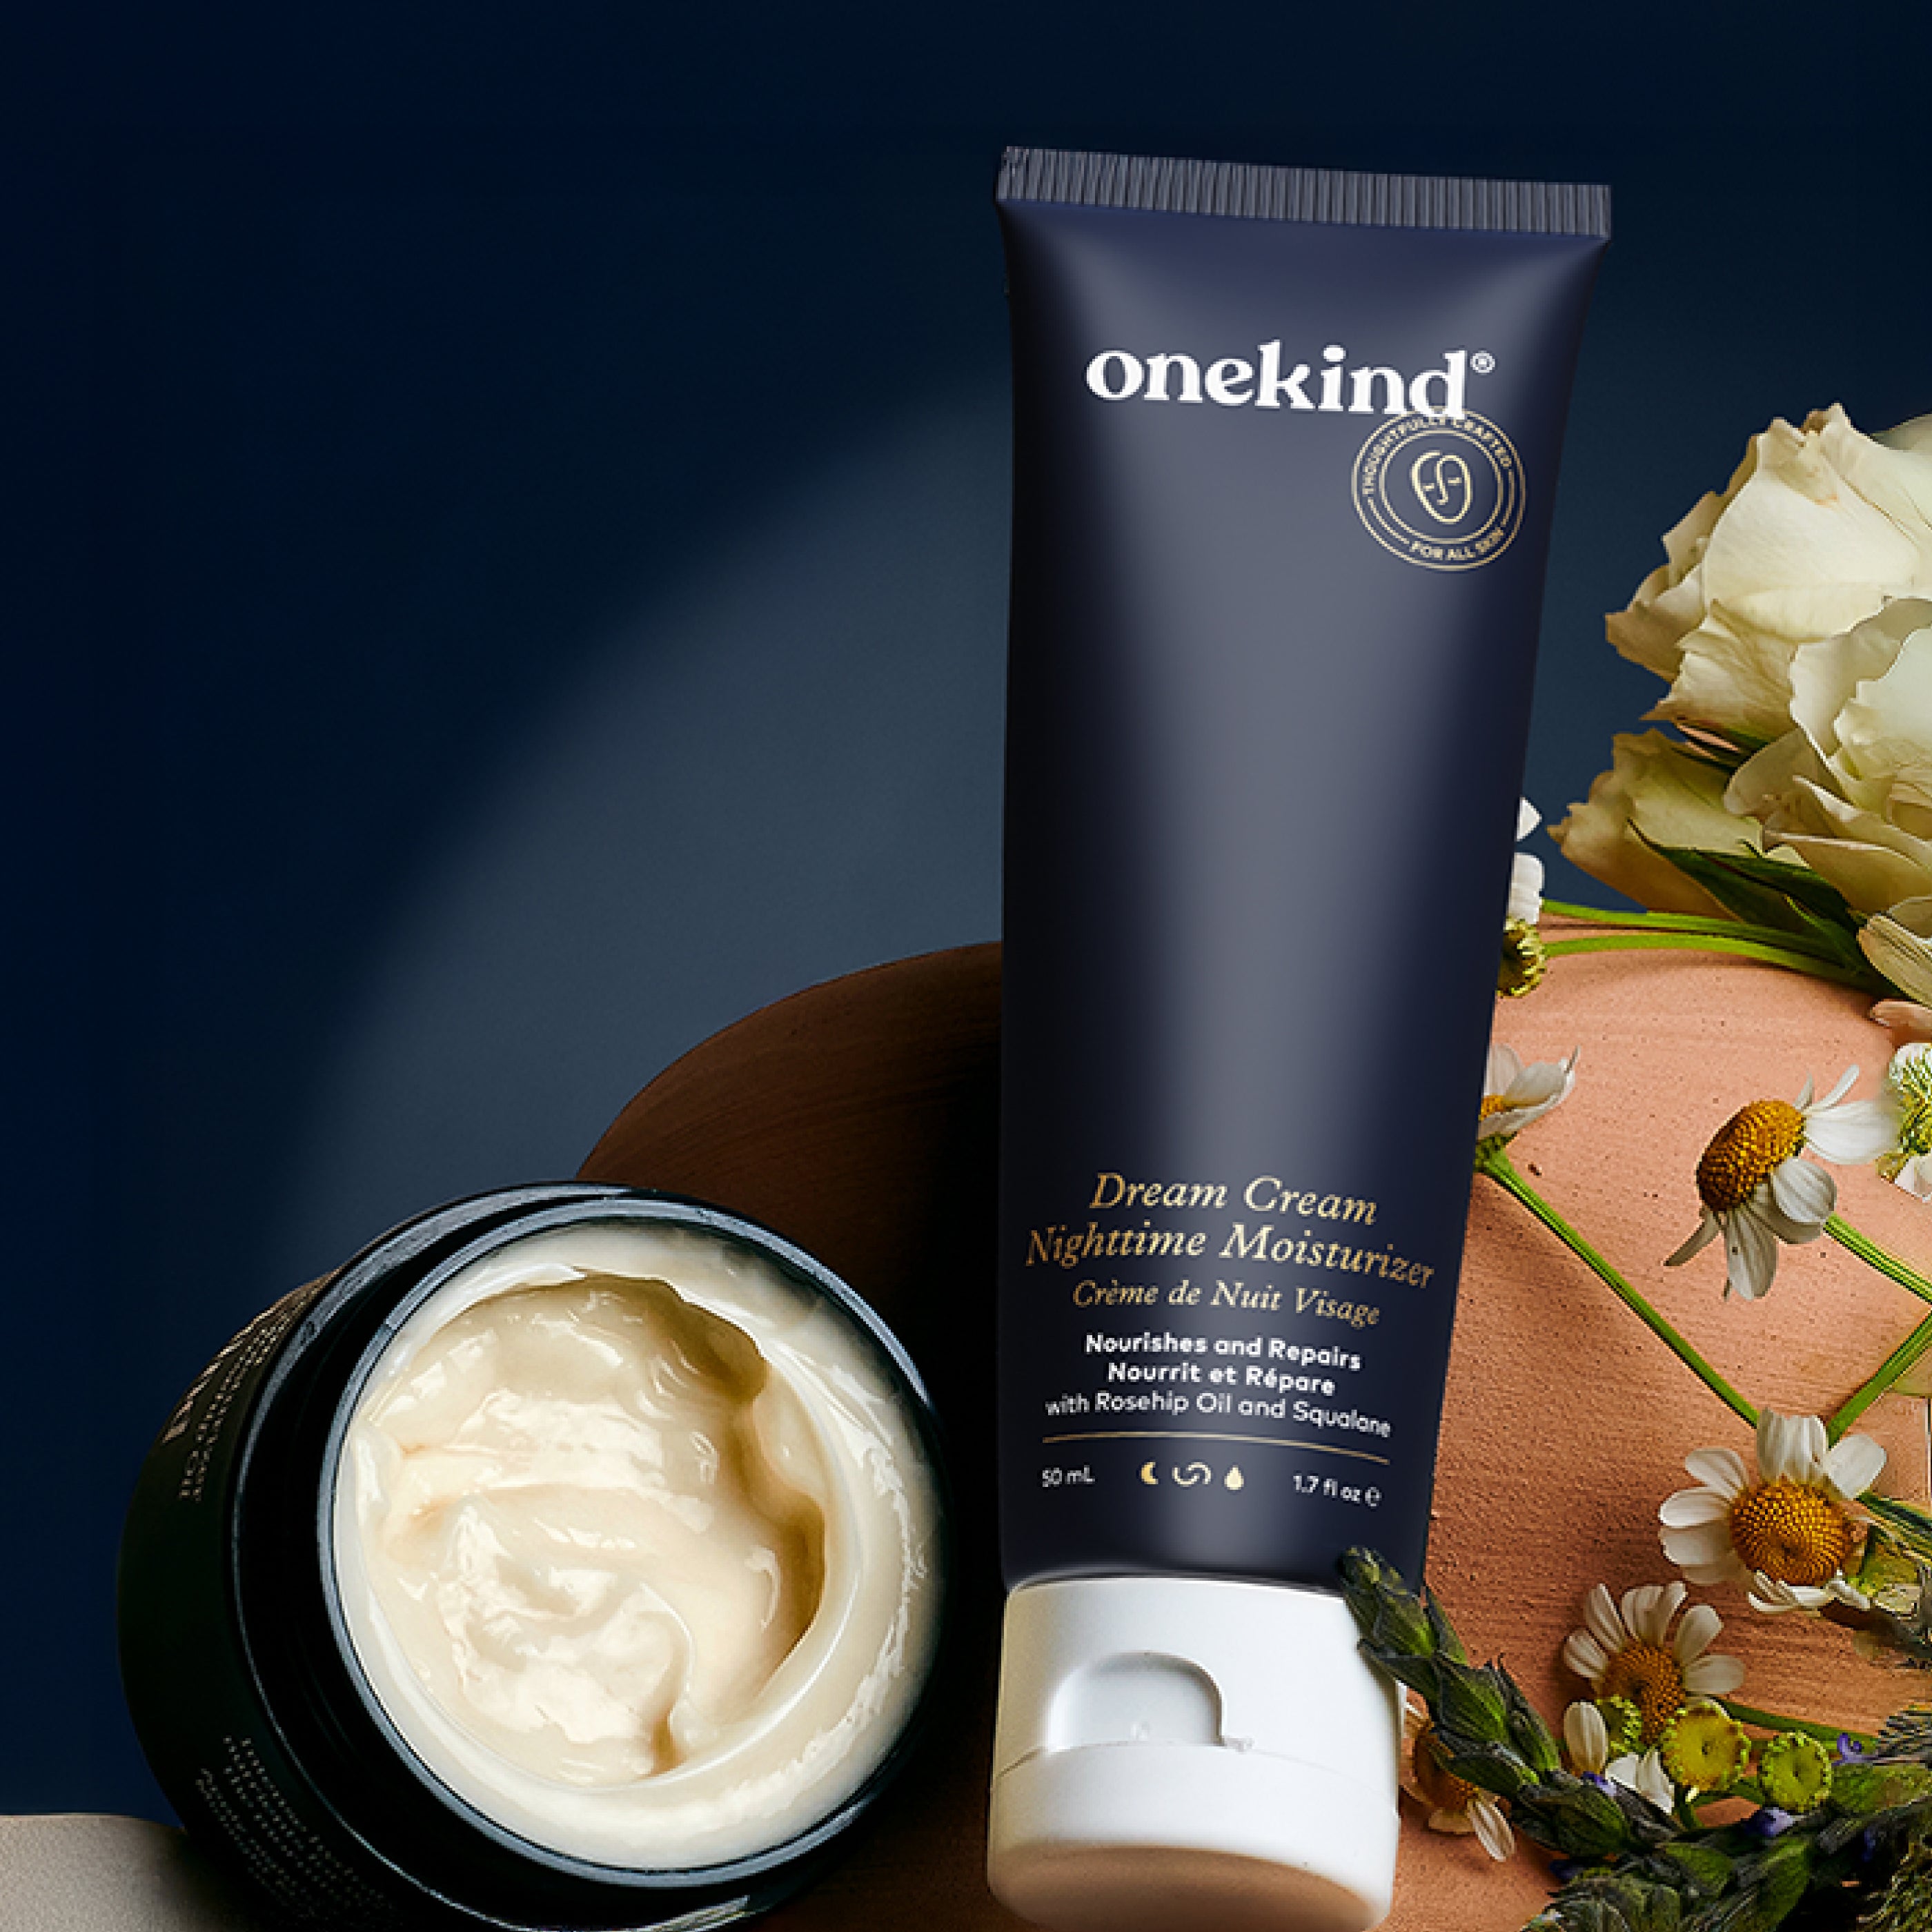
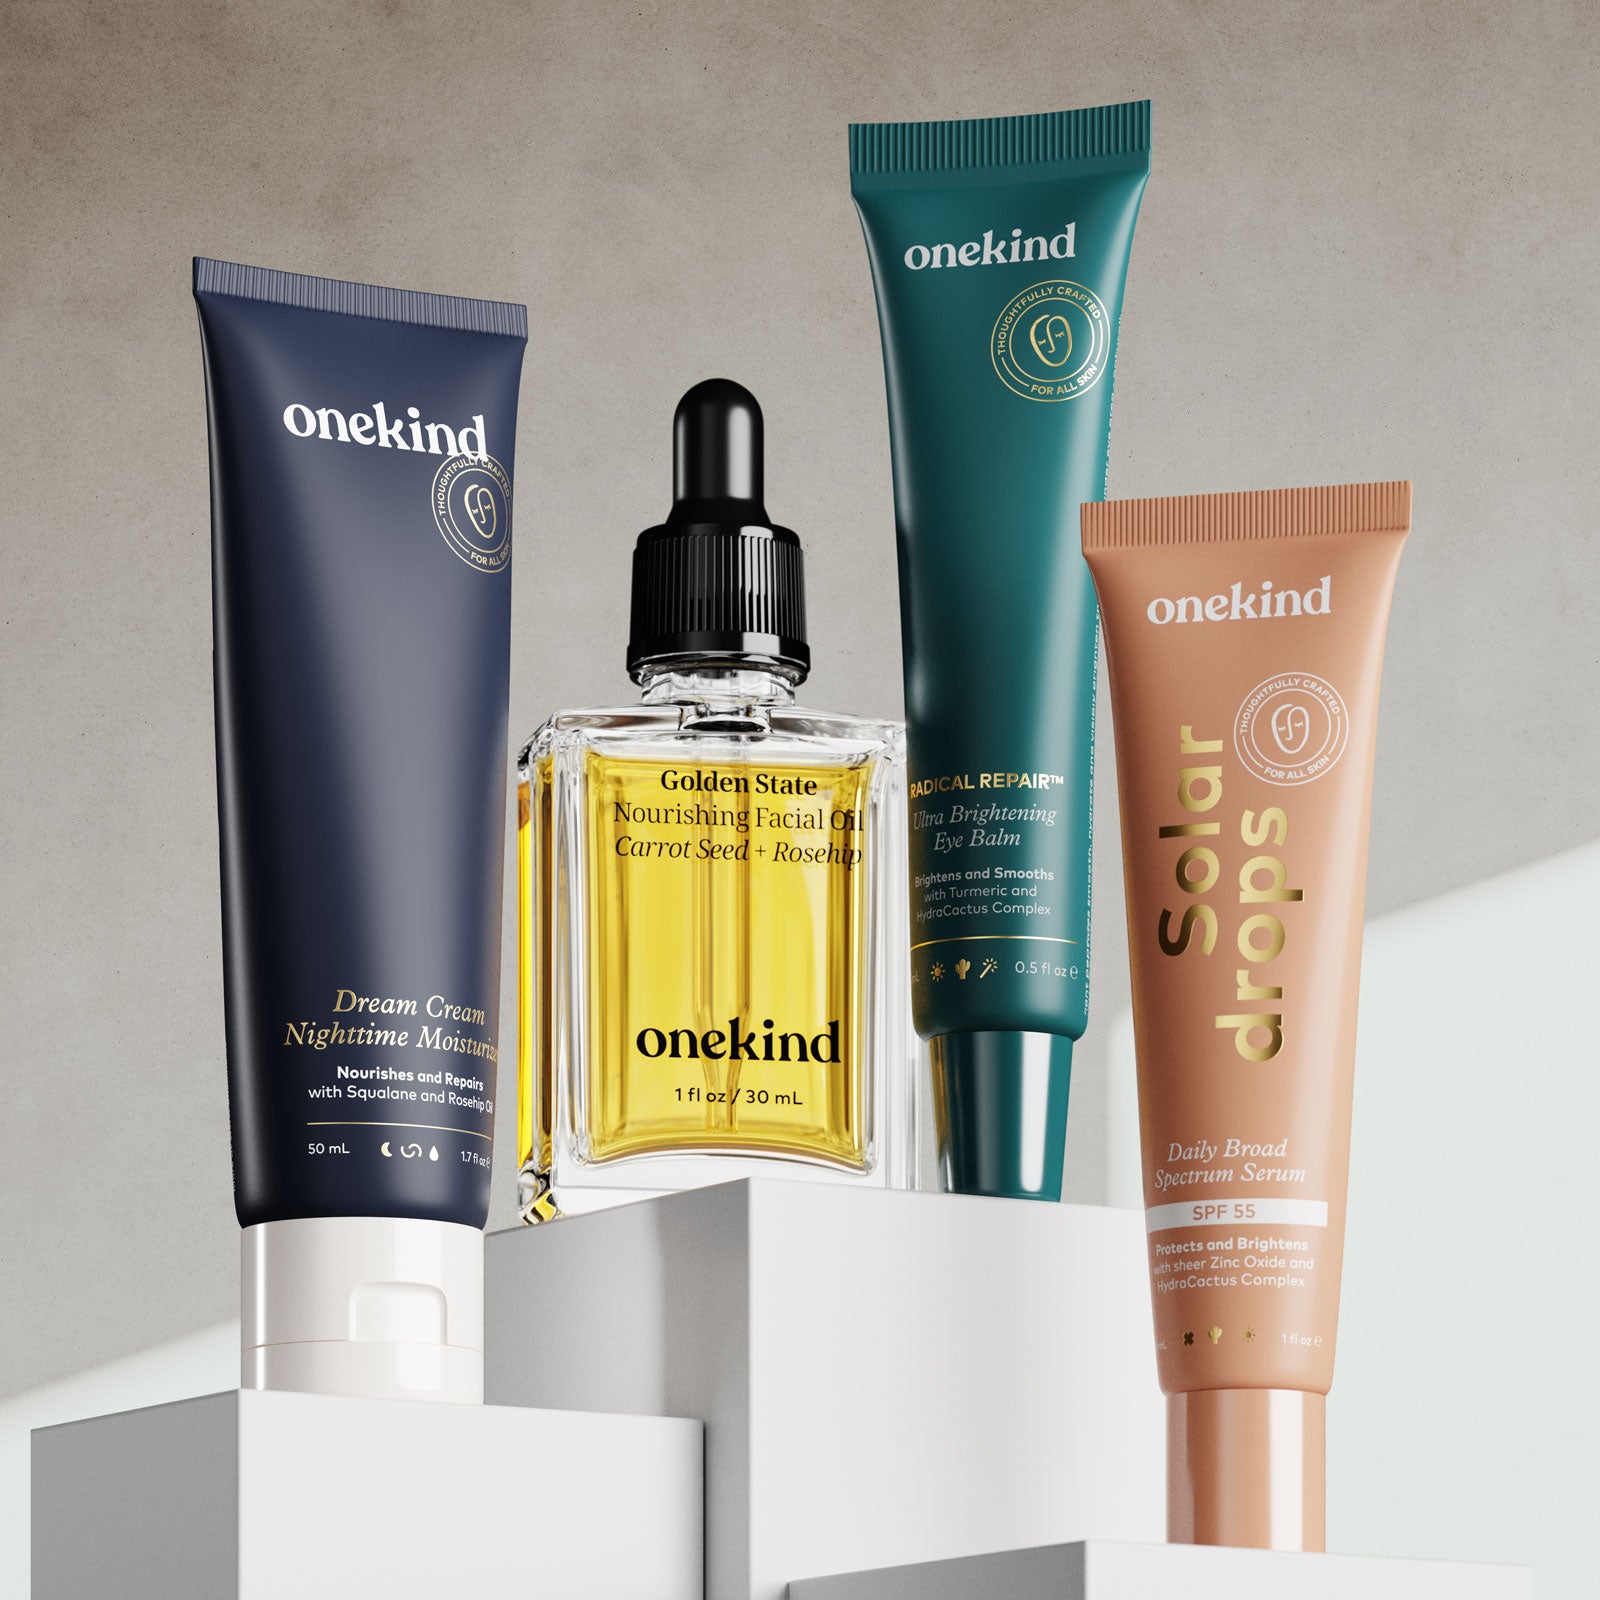
If you practice in the morning, finish with Solardrops SPF 55 Daily Broad Spectrum Sunscreen as your final step -- its tinted mineral formula provides broad-spectrum UVA/UVB protection while visibly brightening and evening skin tone. If you practice in the evening, Dream Cream Nighttime Moisturizer is a natural follow-up -- its squalane and rosehip formula works overnight to help soften the appearance of fine lines and support a well-rested, replenished look by morning.
Frequently Asked Questions
How long does it take to see results from gua sha?
Depuffing results -- especially morning puffiness -- are often visible the same day. For sculpting, lifting, and line-softening effects, most people notice a consistent visible difference after 4 to 6 weeks of daily practice.
Can I use gua sha every day?
Yes. Daily use gives the best results. Keep sessions to 5 to 10 minutes with light pressure. If skin looks red or feels tender after a session, reduce pressure or take a day off.
Do I need a special oil for gua sha?
Any lightweight facial oil works as a slip product. Avoid thick creams or heavy balms -- these do not provide enough glide. A dedicated facial oil like Golden State Nourishing Facial Oil provides the right texture and feeds skin with antioxidant-rich botanicals while you work.
Is stainless steel gua sha better than jade or rose quartz?
Stainless steel is non-porous, so it does not harbor bacteria the way stone tools can at a microscopic level. It also holds a cooler temperature longer, will not chip or break if dropped, and can be fully sterilized. The Skin Sculpt Gua Sha is 100% stainless steel for all of these reasons.
Can gua sha help with jaw tension?
Yes -- jaw tension is one of the most noticeable and immediate benefits. The strokes along the jaw and masseter muscle help release tension that accumulates from grinding, clenching, and stress. Regular practice can help visibly soften the appearance of a tense or clenched jaw over time.
Is gua sha safe for sensitive skin?
Yes. Because gua sha is physical rather than chemical, it is appropriate for most skin types including sensitive skin. Use a very light touch and a skin-nourishing oil as your slip product. Avoid using directly over active breakouts, inflamed areas, or recently treated skin.
Should gua sha hurt?
No. Effective gua sha should feel like a firm, relaxing massage -- not scraping or discomfort. If it hurts, reduce pressure significantly. Light to moderate pressure is all that is needed.
Can gua sha reduce under-eye puffiness?
Yes -- the under-eye area is one of the most responsive zones for gua sha. Fluid tends to pool overnight, and the gentle outward stroke along the under-eye toward the temple helps stimulate lymphatic drainage and reduce the appearance of morning puffiness. Use near-zero pressure in this area.
Ready to get started? The Onekind Skin Sculpt Gua Sha is made from 100% stainless steel — more hygienic than jade or rose quartz, and designed specifically for this technique. For slip and added skin benefits, layer it over the Golden State Nourishing Facial Oil before each session.